I love fishing and have gone through many different fishing poles. As I was researching fishing topics (as I often do), I found a website where you can purchase materials to build your own fishing pole (www.mudhole.com). This sounded fascinating to me because I have been looking for a high quality light action fishing pole that doesn’t cost much money. This was a perfect opportunity for me to build a pole exactly as I wanted. I will take you through each of the steps that I followed to create a pole.
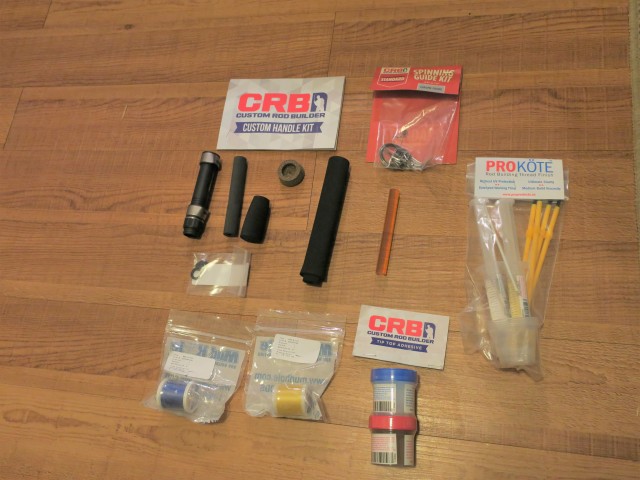
Step 1: I ordered the materials. Be careful! I accidentally ordered a handle that was too large for the rod blank that I ordered and had to order a second handle. Luckily, my Dad decided to build his own fishing pole too, so he was able to use the extra handle. Also, I purchased the materials, but not the tools to build the fishing pole. This made building the rod a bit trickier, but much more affordable.
Step 2: We found the spine of the rod blank. Sorry, we don’t have a picture, but if you are interested, you can watch a video about this here. Finding the spine and marking what way the pole naturally bends helps you know how to what direction to place the handle on the rod.
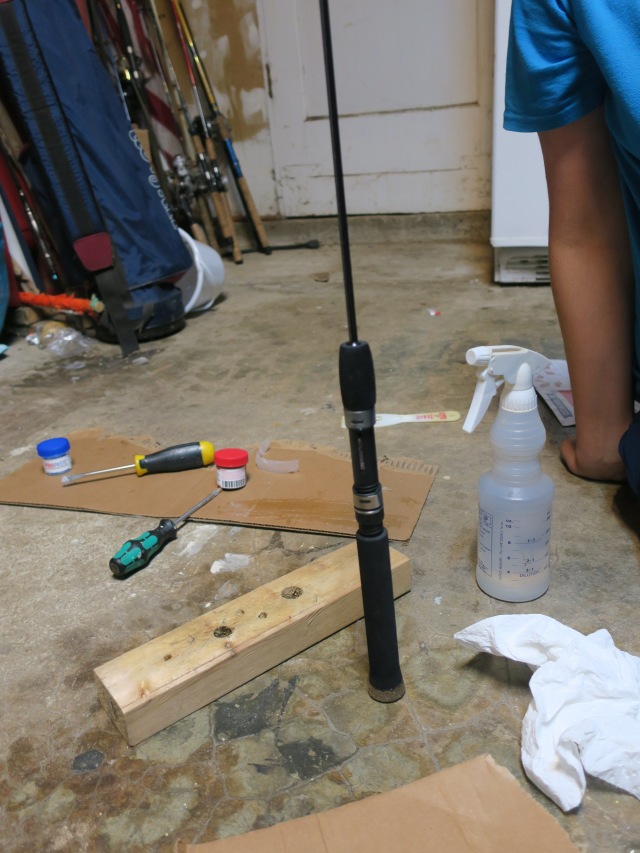
Step 3: We glued the handle and the reel seat to the rod blank. Since we were using an Eva handle instead of a cork handle, we had to soak parts of the handle in steaming water so that it would expand and fit on the rod. Before placing the handle on the rod, we mixed the epoxy and smothered it on the rod blank. We then slid the handle over the epoxy and pushed it into location with a 2×4 that had a hole drilled into the wood so that it would slide over the rod. We did this so that we could make the handle tight and have enough grip to push the handle down.
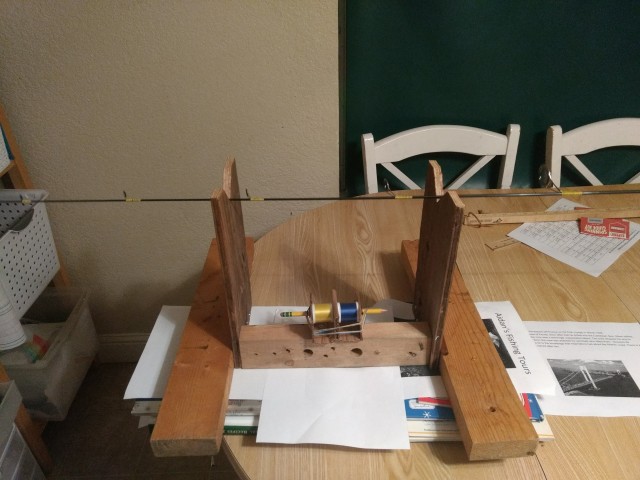
Step 4: We created the hand wrapper. We made It by using pieces of a 2×4 and some plywood. At first, we made this hand wrapper too long, so we had to shorten the middle 2×4 to make it shorter.
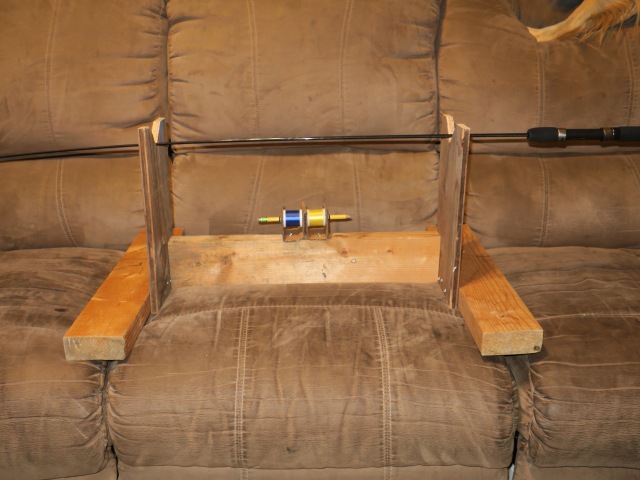
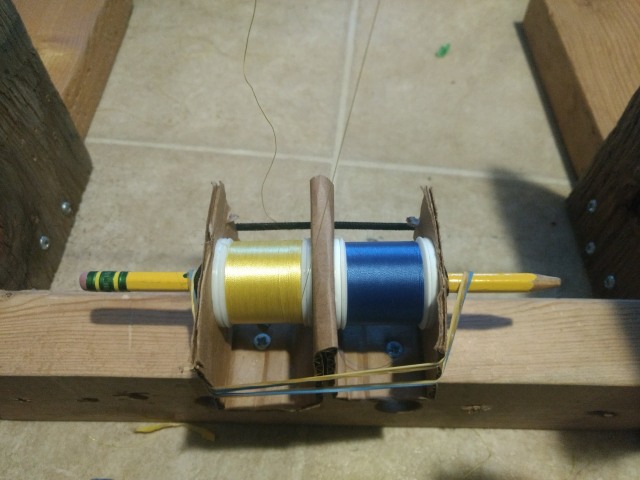
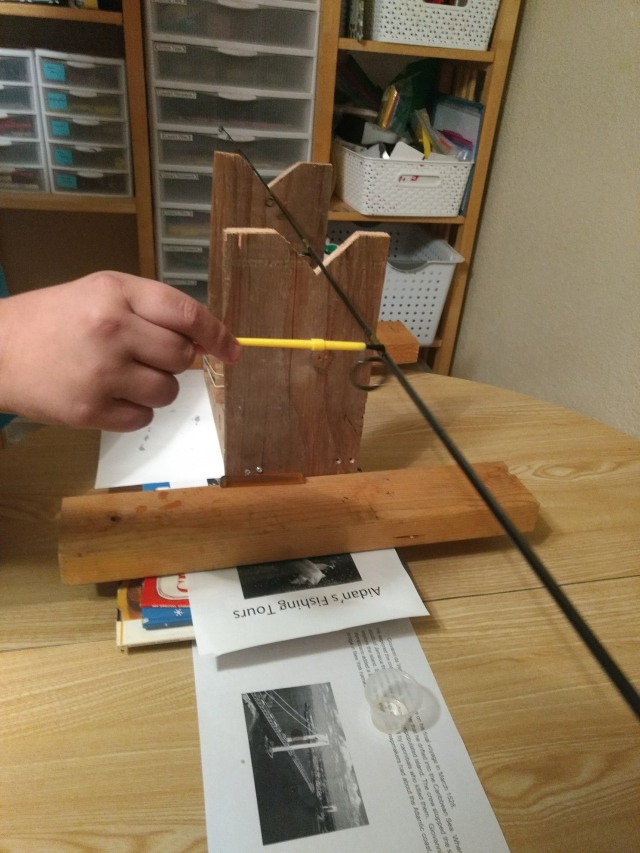
Step 5: We connected the spools to the hand wrapper and tightened them using rubber bands around cardboard. It is very important to keep the spool tight while wrapping the rod, otherwise the string won’t hold the guide in place.
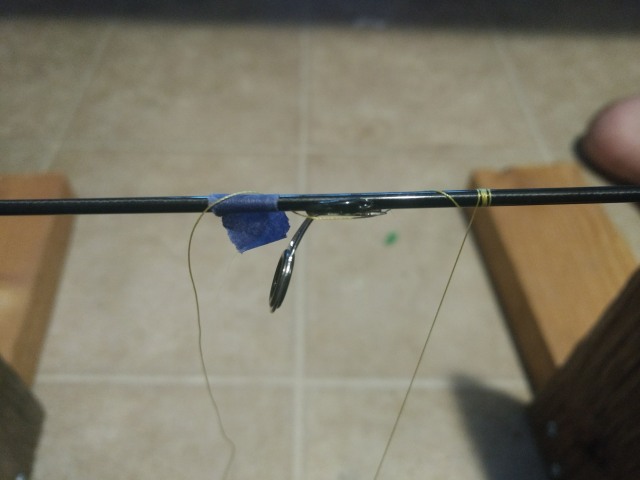
Step 6: We marked the rod with tape showing where to put the guides. We found a guide spacing chart here that shows the distance between each guide.
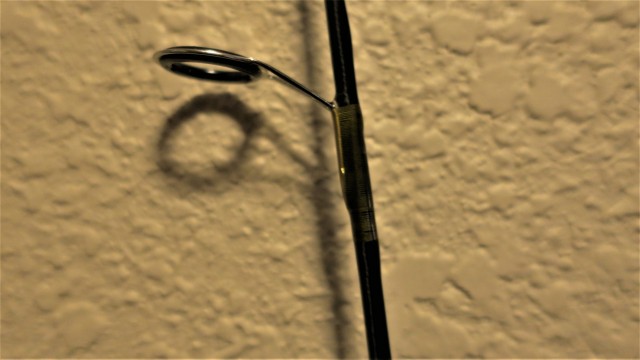
Step 7: We attached the guides to the rod using glue. This didn’t work to well because our guides kept falling off. We then resorted to using tape. After attaching the guides with tape, we then wrapped them with thread. As our thread reached the tape, we removed the tape so that we could keep wrapping.
Step 8: After attaching all the guides we attached the rod tip to the pole using rod tip glue.
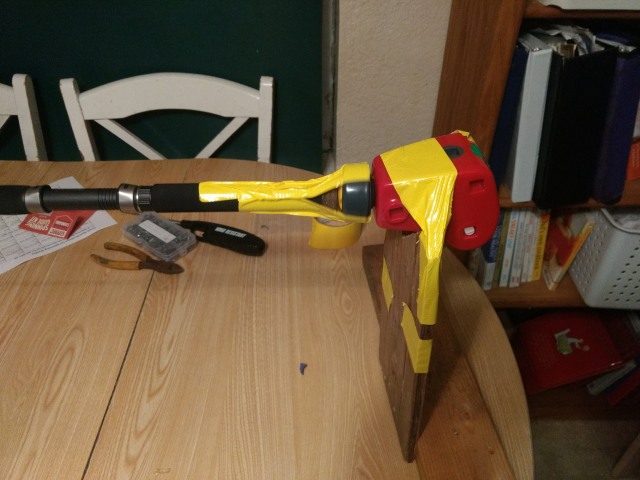
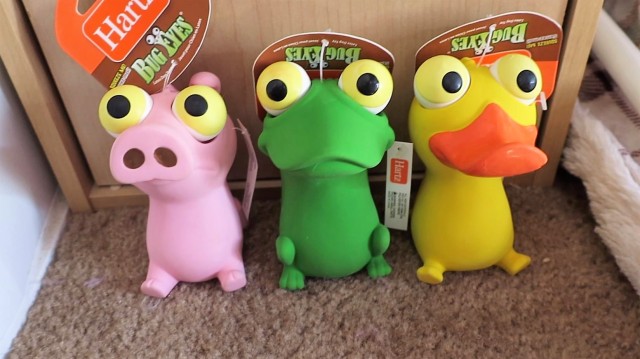
Step 9: We were then ready to epoxy over the guide thread; however, we read that this should be done while the rod was rotating. This was a challenge to figure out because we didn’t want to spend a lot of money to purchase a rod rotator. Luckily, we found a rotating toy in my younger brother’s room and we were able to attach the pole to the toy which kept it rotating.
Step 10: We painted the epoxy onto the guide thread.
Step 11: We waited for 24 hours while the epoxy dried.
Step 12: We admired our finished fishing pole. Oops, that wasn’t it!
Step 12 (again): Here it really is.
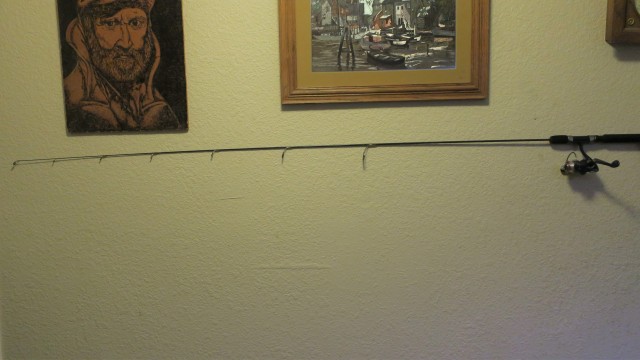
What I learned: I really didn’t know if I would enjoy building my own fishing pole, but now I am excited to build another. I am thinking my next pole should be an ultralight so that I will really feel the fight when catching fish.
